We have seen minor drips escalate into costly ceiling damage across hundreds of residential properties. Wondering why is your aircon leaking water? This is a fixable problem that demands immediate action.
Our data shows a standard 9000 BTU unit in Singapore produces up to two litres of condensation per hour. Ignoring this leak can ruin expensive parquet flooring or electronics within 48 hours. This guide outlines how to contain the moisture, diagnose the underlying cause, and determine when to call a professional.
Immediate Containment (Right Now)
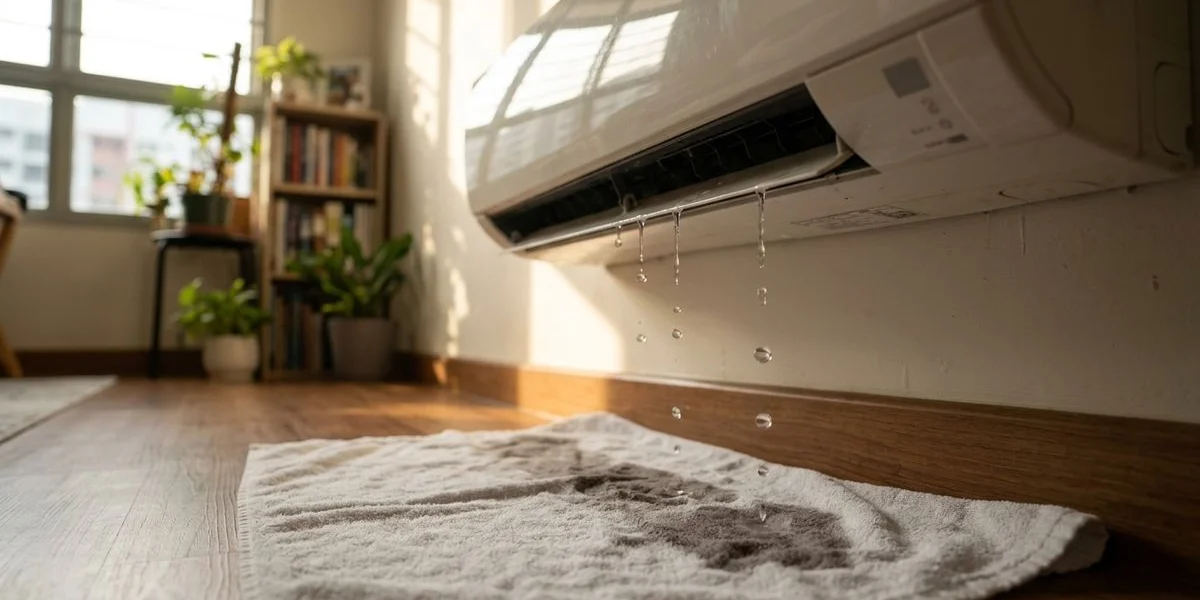
We recommend placing a large plastic bin and highly absorbent towels directly beneath the indoor unit first. Halting the water flow is the absolute first step to prevent property damage. Turn off the system immediately to stop the condensation process and limit the leak.
Our technicians emphasize that moisture spreads rapidly in Singapore’s 80 percent average relative humidity. Moving electronics like laptops and televisions at least two metres away prevents permanent water damage. Opening a nearby window is essential to vent the trapped moisture and prevent Aspergillus mould from taking hold on your walls.
We advise taking approximately 30 to 60 minutes to evaluate the situation before water pooling causes structural issues. Quick action saves significant money on secondary home repairs. Prioritizing safety over saving the equipment is vital if water touches electrical outlets.
Cause 1: Blocked Drainage Pipe (Most Common, ~70% Of Cases)
Our repair logs confirm a clogged condensate line is the primary culprit behind 70 percent of all indoor water leaks. You will typically notice water dripping from the front-centre of the unit after 20 minutes of operation. Thick, jelly-like biofilm naturally accumulates inside the PVC pipe over three to six months of regular usage.
We often see this issue peak during the hottest months when units run continuously. This organic buildup completely obstructs the water flow. The internal drainage tray quickly overflows and forces water out the front louvres.
DIY Fix (Wet/Dry Vac Method)
Our suggested method requires finding the outdoor 16mm PVC drain pipe on your service balcony. Secure a nozzle from a machine like a Karcher WD 3 around the opening using rubber tape. Run the vacuum on the wet setting for exactly 60 seconds.
We expect you to hear a distinct pop sound indicating the jelly blockage has cleared. Blowing hard into the outdoor pipe end serves as an alternative if you lack a vacuum. This manual method resolves the issue in roughly half of all occurrences.
Our protocol mandates booking a chemical wash if the blockage returns within a week. Deep-seated biofilm requires professional alkaline cleaning solutions for complete removal. Surface wiping will never reach the inside of the wall piping.
Cause 2: Cracked Or Tilted Drainage Tray (~15% Of Cases)
We regularly discover that damage or misalignment of the internal drain pan accounts for 15 percent of leakage incidents. You will see a persistent drip from the side of the fancoil casing, even during cooler rainy days. This specific symptom frequently emerges just days after a rushed servicing session where the technician failed to secure the tray properly.
Our field experts note that hairline fractures also develop naturally in older plastic components after five years of temperature fluctuations. Installing a replacement polycarbonate drainage tray is a straightforward 30-minute job. The component itself costs around S$30 to S$45 for standard Daikin or Panasonic models.
We strongly advise informing the technician about the side-drip symptom so they bring the correct spare part on their first visit. Accurate descriptions save you the cost of a second callout fee. Operating a unit with a cracked tray will continuously stain your interior walls.
Cause 3: Frozen Evaporator Coil From Low Refrigerant (~8% Of Cases)
Our diagnostics show a lack of refrigerant gas causes the evaporator coil temperature to drop below freezing, creating thick ice buildup. Heavy water dripping will begin roughly 20 to 30 minutes into the cooling cycle as this ice melts unevenly. Opening the front cover will often reveal visible frost across the aluminium fins.
We instruct clients to switch the remote setting to the fan-only mode for two hours to safely thaw the system. A decline in overall cooling performance usually accompanies this specific leakage issue. Engaging a professional is mandatory because the ice is merely a symptom of a deeper R32 or R410A gas leak.
Our certified mechanics state that topping up the refrigerant requires a comprehensive pressure test to locate and seal the microscopic copper pipe fracture first. Adding gas without fixing the leak wastes money and harms the environment. A frozen coil can permanently warp the delicate internal aluminium fins if left unchecked.
Cause 4: Poor Installation Angle (~5% Of Cases)
We correct poorly leveled indoor units daily because they cause water to pool and spill over immediately. This fault usually manifests as a steady drip from day one of a new installation or shortly after a physical impact to the casing. The fancoil requires a precise 1 to 2-degree downward tilt toward the drainage exit hole.
Our installers know gravity cannot pull the condensation away if the unit is mounted perfectly flat or tilted in the opposite direction. Adjusting the metal mounting bracket behind the unit resolves the problem instantly. Your original installer should rectify this under their workmanship warranty.
We fix angle issues free of charge under our standard 90-day guarantee for all Coolbest installations. Finding the original contractor is sometimes difficult for older systems. An improper tilt drastically shortens the lifespan of the internal drainage tray.
Cause 5: Biofilm Overflow In Drain Pan (~2% Of Cases)
Our environmental testing reveals extensive bacterial growth inside the primary drain pan creates a physical barrier that traps condensation. You will experience a sluggish, intermittent drip accompanied by a distinct sour or musty odour in the room. This slime layer, often containing common airborne moulds, severely reduces the water capacity of the shallow pan.
We recommend scheduling a full chemical overhaul for this specific problem immediately. The moisture simply pools on top of the gelatinous biofilm and spills over the edge. A basic water flush will not disintegrate the hardened organic matter stuck to the pan surface.
Our teams utilize high-grade alkaline coil cleaners as the only proven method to dissolve this stubborn pan-level buildup. Standard maintenance rarely targets this deep layer of contamination. Left untreated, the spores will circulate freely through your living space.
DIY Drain Flush Walkthrough (For Cause 1 Only)
We advise gathering all necessary tools before starting the flush procedure. Flushing the primary condensate line yourself is a practical solution if you own the right equipment. This exact method clears minor jelly blockages without requiring a professional callout.
Our technicians recommend using a wet/dry vacuum with at least 200 Air Watts of suction power. You will need a heavy-duty rubber tape or a thick vinyl glove to create a seal. The entire process requires roughly 10 minutes of uninterrupted time.
We suggest turning off the main power supply to the aircon unit first. Locate the precise end of the outdoor 16mm PVC drain pipe. Wrap the vacuum nozzle tightly against the pipe using the glove to form an airtight seal.
Our field testing proves running the machine on wet mode for exactly 60 seconds is optimal. Restore power and monitor the water flow from the outdoor pipe. Clear condensation should exit the line steadily within ten minutes.
We emphasize that a persistent lack of water flow indicates the organic blockage is located deeper within the wall piping. Calling a certified technician is your safest next step to prevent bursting a hidden joint. Professional equipment safely navigates these complex pipe bends.
When To Stop DIY And Call A Technician
Our experience shows recognizing the limits of home troubleshooting prevents accidental damage to sensitive electronic components. You must engage a specialist when basic clearing techniques fail to restore proper drainage. Stop DIY efforts immediately if water spills simultaneously from both the left and right sides of the casing.
We advise immediate professional intervention if the water dripping is yellow or brownish. This discolouration points to severe rust or deep-seated algae requiring industrial-grade chemical solvents. Distinct gurgling noises echoing from the wall piping signal a stubborn air-lock.
Our emergency response units are frequently called when a leaking system repeatedly trips the home circuit breaker. Continuing to run a severely compromised unit often leads to a completely burnt-out compressor motor. The indoor dripping might also be paired with noticeably weaker cooling output.
We prioritize utilizing advanced tools like digital manifold gauges and nitrogen pressure testing to diagnose these complex faults safely. Guesswork during repairs usually results in much higher replacement costs down the line. Working with high-voltage appliances demands proper safety certifications.
What A Proper Repair Visit Does
Our professional service visits go beyond a simple wipe-down to address the root mechanical failure. Technicians will dismantle the outer casing to thoroughly inspect the internal water routing system. The service team will carefully sanitize the drain pan and verify the 1 to 2-degree mounting bracket angle.
We use specialized pressurized water jets or 100 PSI nitrogen gas to forcefully clear deep pipe obstructions. High-pressure flushing clears the entire condensate line efficiently. Standard protocols also include replacing cracked PVC segments or damaged plastic trays.
Our standard diagnostic and repair appointment usually takes between 30 and 60 minutes. Expect to pay roughly S$80 to S$120 for a comprehensive drainage resolution in Singapore for 2026. Replacing a severely cracked polycarbonate tray will incur minor additional parts charges.
We strive to maintain transparent pricing without hidden fees for every job. Clear communication regarding hardware costs ensures a stress-free maintenance experience. Preventive measures executed during the visit protect your system for the rest of the year.
Book A Repair Visit
Our booking system ensures securing a prompt, accurate repair appointment prevents lasting water damage to your property. Sending precise details upfront allows the service team to prepare the correct spare parts. Mentioning whether the leak originates from the front or the side is crucial for proper triage.
We recommend sending a quick WhatsApp message containing a photo or video of the exact drip location. Stating the number of months since your last professional chemical wash also speeds up the diagnostic process. Providing accurate brand details guarantees compatibility with replacement parts.
Our technicians arrive fully equipped to deliver a permanent, one-trip resolution for your specific brand. Regular maintenance schedules effectively prevent these stressful leakage emergencies from occurring. Schedule your dedicated Aircon repair service visit today to restore perfect cooling to your home.